Lighting is the backbone of photography, the element that can make or break a shot. Understanding how to use light effectively is essential for any photographer, whether you're just starting or looking to refine your craft. In this article, we will explore the various types of lighting, how to manipulate them, and the impact they have on your images.
The Importance of Light in Photography
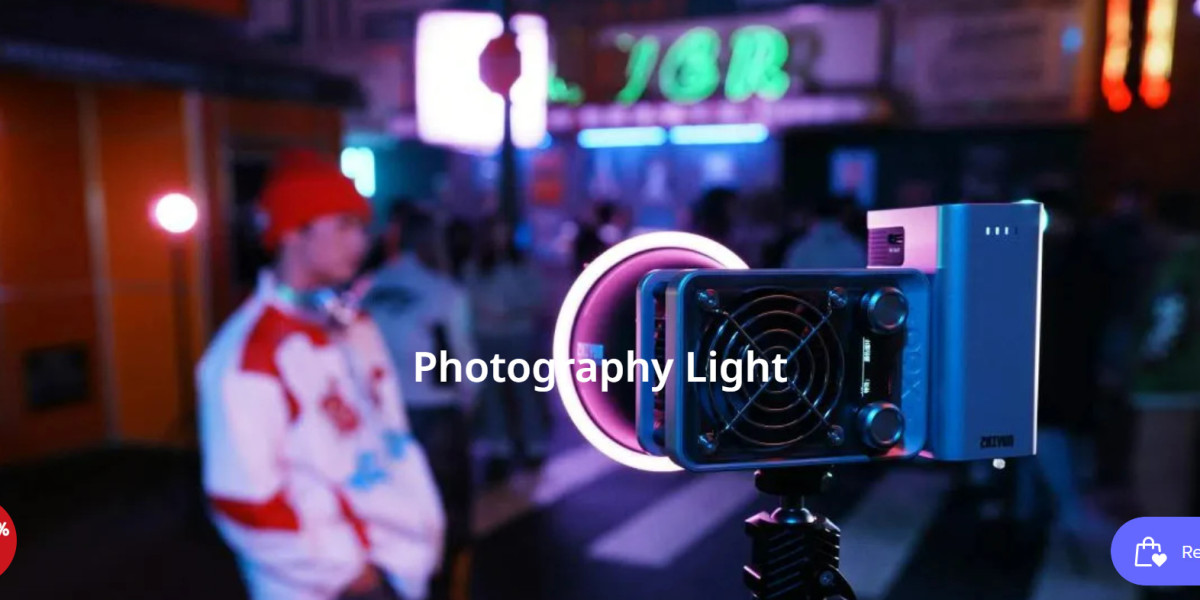
Photography Light, at its core, is the art of capturing light. The word "photography" itself comes from the Greek words "photos," meaning light, and "graphos," meaning drawing. In essence, photography is about drawing with light. Without light, there is no image. The way light interacts with the subject, the environment, and the camera's sensor determines the final outcome of a photograph.
Types of Photography Light
Understanding the different types of light is the first step in mastering Photography Light. Here are the most common types:
1. Natural Light
Natural light is sunlight, and it can vary greatly depending on the time of day, weather conditions, and geographic location. Natural light is often preferred by photographers for its softness and warmth, especially during the "golden hour"—the first hour after sunrise and the last hour before sunset.
Golden Hour: This is the period shortly after sunrise or before sunset when the sunlight is soft and warm. It’s ideal for portraits and landscapes as it creates long shadows and a beautiful, flattering light.
Blue Hour: Occurring just before sunrise or after sunset, the blue hour provides a cooler, softer light that’s perfect for moody and atmospheric shots.
Midday Light: The harshest natural light occurs when the sun is directly overhead. It creates strong shadows and can be challenging to work with, but it can also produce dramatic images if used creatively.
2. Artificial Light
Artificial light includes any light source that isn't naturally occurring, such as studio lights, flash, and household bulbs. Artificial light gives photographers control over the intensity, direction, and color of the light, allowing for more creativity and consistency in their work.
Continuous Light: This is a steady light source like LED panels or tungsten lights. Continuous lighting allows Photography Light to see how the light falls on the subject in real-time, making it easier to adjust the setup.
Flash (Strobe) Light: Flash provides a burst of light that can freeze motion and create sharp, well-lit images. It’s commonly used in studio settings and can be modified with diffusers, softboxes, or reflectors to soften or direct the light.
The Direction of Light
The direction from which light hits your subject has a significant impact on the final image. Here are the main types of lighting directions:
1. Front Lighting
Front lighting occurs when the light source is positioned directly in front of the subject, illuminating it evenly. This type of lighting reduces shadows and is often used in portrait photography to create a clear, detailed image. However, it can sometimes make the subject appear flat if not handled carefully.
2. Side Lighting
Side lighting comes from the side of the subject, casting shadows on the opposite side. This type of lighting is excellent for creating depth, texture, and dimension in a Photography Light. It’s often used in portrait photography to create a more dramatic and sculpted look.
3. Backlighting
Backlighting occurs when the light source is behind the subject, facing the camera. This can create a silhouette or halo effect, emphasizing the outline of the subject. Backlighting is popular in landscape Photography Light, especially during sunrise or sunset, as it can create stunning, atmospheric images.
4. Top Lighting
Top lighting is when the light source is directly above the subject. This type of lighting is commonly seen in nature Photography Light, where the sun is high in the sky. Top lighting can be harsh, creating deep shadows under the eyes, nose, and chin, but it can also be used creatively to highlight certain aspects of the subject.
5. Bottom Lighting
Bottom lighting occurs when the light source is below the subject, casting shadows upwards. This type of lighting is often used in horror Photography Light and film to create an eerie and unsettling effect. It’s not commonly used in traditional photography but can be effective for certain creative projects.
Modifying Light
Controlling and modifying light is key to achieving the desired effect in your Photography Light. Here are some common tools and techniques used to modify Photography Light:
1. Reflectors
Reflectors are used to bounce Photography Light onto a subject, filling in shadows and adding dimension. They come in various colors, each producing different effects. A white reflector provides a soft, natural fill light, while a silver reflector offers a stronger, more contrasty light. Gold reflectors add warmth, and black reflectors can be used to absorb light and deepen shadows.
2. Diffusers
Diffusers soften Photography Light by spreading it out and reducing its intensity. They are commonly used in studio photography to create even, flattering light on the subject. Diffusers can be anything from professional softboxes to simple DIY solutions like a white bedsheet or a translucent shower curtain.
3. Gels
Gels are colored filters placed over lights to change the color of Photography Light hitting the subject. They are often used in creative photography to add mood, drama, or to simulate different lighting conditions.
4. Grids and Snoots
Grids and snoots are modifiers that focus light into a narrower beam, allowing Photography Light to control where the light falls. They are useful for highlighting specific parts of a scene or subject, creating spotlights, or adding dramatic contrast.
Conclusion
Mastering light in Photography Light is a journey that requires practice, experimentation, and a keen eye. By understanding the different types of light, the direction of light, and how to modify it, Photography Light can elevate their work and create images that are not only technically sound but also artistically compelling. Whether you’re shooting in natural light or setting up a studio, remember that light is your most powerful tool in capturing the beauty of the world through your lens.