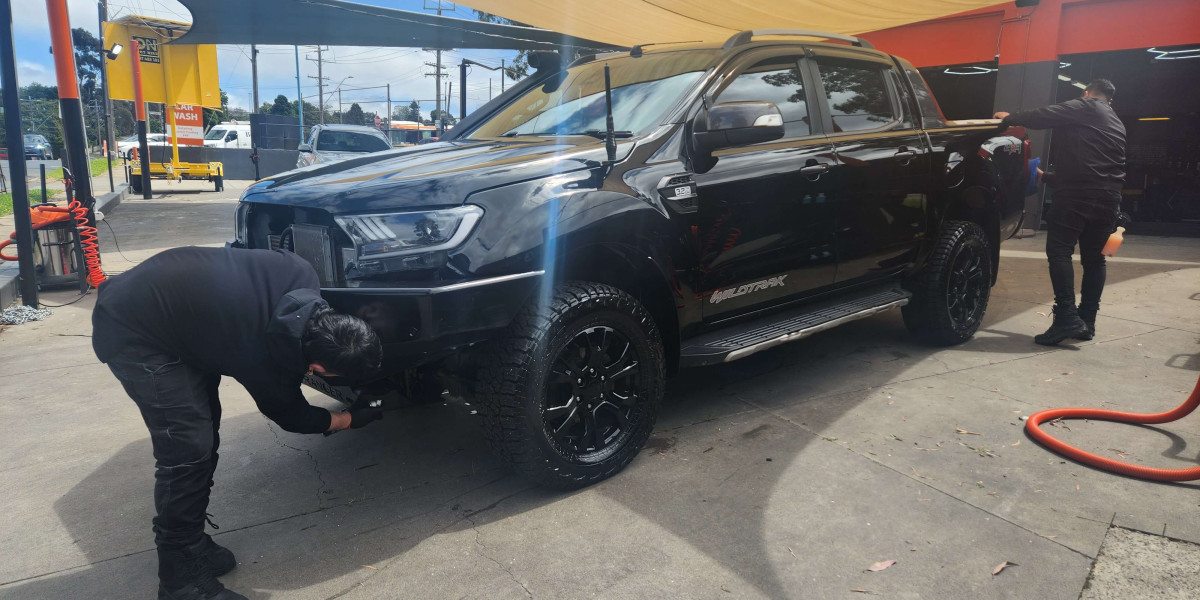
Here is a comprehensive guide on how the ceramic coating is typically applied:
1. Surface Preparation:
1.1. Thorough Washing:
- Initial Rinse: Begin with a thorough rinse to remove loose dirt and debris.
- Foam Wash: Apply a foam cannon or wash mitt with a pH-balanced car shampoo to clean the surface. This helps to break down more stubborn contaminants.
- Two-Bucket Method: Use the two-bucket method (one for soapy water and one for rinsing) to minimise the risk of scratches.
1.2. Decontamination:
- Chemical Decontamination: Use an iron remover to dissolve embedded iron particles and fallout on the paint.
- Mechanical Decontamination: Use a clay bar or clay mitt with a lubricant to remove bonded contaminants such as tar, sap, and overspray.
1.3. Paint Correction:
- Inspection: Inspect the paint under proper lighting to identify swirls, scratches, and oxidation.
- Compounding and Polishing: Perform a multi-stage paint correction process using compound and polish to restore the paint’s clarity and remove imperfections. This step is crucial as the ceramic coating will lock in the condition of the paint.
1.4. Final Cleaning:
- Panel Wipe: Use an isopropyl alcohol (IPA) solution or a dedicated panel wipe to remove any polishing oils or residues. This ensures the surface is completely clean and ready for the coating application.
2. Ceramic Coating Application:
2.1. Environmental Conditions:
- Controlled Environment: Apply the coating in a controlled environment, free from dust and with proper ventilation. Ideal temperature and humidity levels are also important for optimal curing.
2.2. Application Technique:
- Applicator Pad: Use a high-quality applicator pad or sponge.
- Section-by-Section: Work in small sections (e.g., 2x2 feet) to ensure even coverage.
- Application Method: Apply a few drops of the ceramic coating onto the applicator pad. Spread the coating evenly in a crosshatch pattern (horizontal and vertical strokes) to ensure complete coverage.
2.3. Flashing and Buffing:
- Flashing Time: Allow the coating to flash (slightly dry) for the time recommended by the manufacturer. This can vary from a few seconds to a few minutes.
- Buffing: Use a clean, lint-free microfiber towel to gently buff off the excess coating. Use a second towel to ensure no high spots or residue is left behind.
3. Layering and Curing:
3.1. Additional Layers:
- Multiple Layers: Depending on the product and desired level of protection, you may apply multiple layers of the ceramic coating. Follow the manufacturer’s instructions for the recommended number of layers and the wait time between each layer (usually 1-2 hours).
3.2. Initial Curing:
- Curing Time: Allow the coating to cure initially for at least 24 hours in a dust-free environment. During this time, avoid getting the surface wet.
3.3. Full Curing:
- Full Cure Period: Complete curing can take up to 2 weeks. During this period, avoid washing the car or exposing it to harsh conditions (e.g., rain, extreme heat).
4. Post-Application Care:
4.1. Maintenance:
- First Wash: After the full cure period, perform a gentle wash using a pH-balanced shampoo.
- Regular Maintenance: Maintain the coating with regular washes and avoid using abrasive cleaners or brushes. Use a ceramic coating maintenance spray or booster to enhance the longevity and performance of the coating.
4.2. Inspection and Touch-ups:
- Periodic Inspection: Periodically inspect the coating for any signs of wear or damage.
- Touch-ups: If needed, apply additional layers or touch-up specific areas to maintain optimal protection.
By following these detailed steps, the ceramic coating Melbourne will provide a durable, high-gloss protective layer that enhances the appearance of the vehicle and protects the paint from environmental contaminants.


