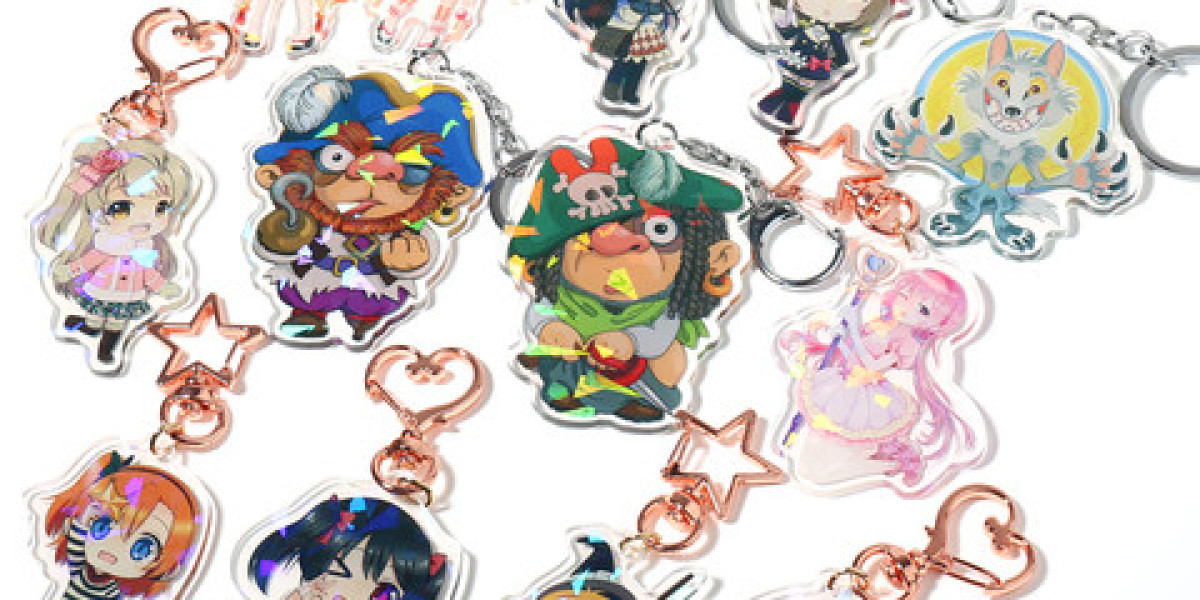
Acrylic Blanks: These are the base shapes for your keychains, available in various sizes and designs.
Epoxy Resin: Used to create a clear, durable coating over your keychain and embed decorations like glitter.
Glitter: Choose from a wide range of custom epoxy glitter acrylic keychain colors and sizes to achieve the desired effect.
Keychain Hardware: Includes rings and clasps to attach to the acrylic shapes.
Mixing Tools: Disposable cups, stir sticks, and a heat gun or torch for removing bubbles.
Protective Gear: Gloves, mask, and eye protection for working with resin.
Decorative Items (optional): Sequins, small charms, dried flowers, or any other embellishments.
Steps to Make Custom Epoxy Glitter Acrylic Keychains:
1. Preparation
Set Up: Work in a well-ventilated area on a flat, level surface. Cover your workspace with a disposable tablecloth or plastic sheet to protect it.
Safety First: Put on your protective gear—gloves, mask, and eye protection.
2. Mixing Epoxy Resin
Follow Instructions: Mix the epoxy resin according to the manufacturer's instructions. Typically, this involves combining equal parts resin and hardener.
Thorough Mixing: Stir the resin mixture thoroughly but gently to avoid introducing air bubbles.
3. Adding Glitter
Choose Glitter: Select the glitter colors you want to use. You can mix different colors for a unique look.
Mixing Glitter: Carefully stir the glitter into the resin mixture. Adjust the amount of glitter based on how sparkly you want your keychains to be.
4. Pouring and Curing
Pour Resin: Pour the glitter resin mixture into the acrylic blanks. Use a stirring stick to spread the resin evenly and ensure it covers the entire surface.
Removing Bubbles: Use a heat gun or torch to remove any air bubbles that rise to the surface. Pass the heat source lightly over the resin without overheating it.


