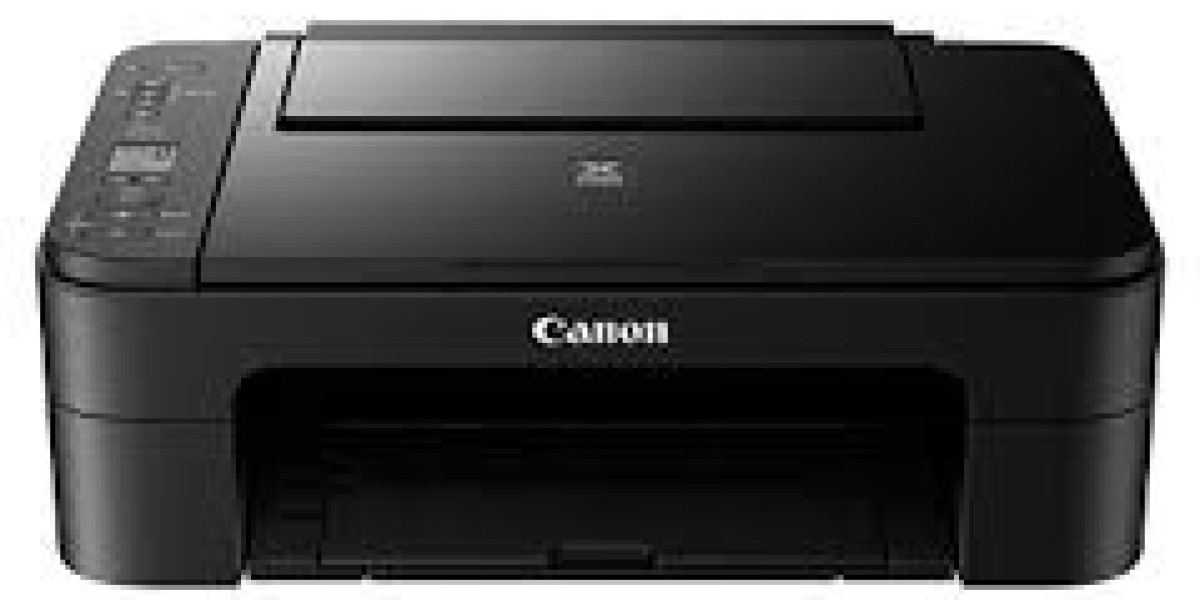
Are you excited to start using your new https //ij.start.cannon? Fear not! In this step-by-step guide, we will walk you through the process of setting up your Canon printer using the official Canon website,. Whether you are a tech-savvy individual or a beginner, our guide will ensure a smooth and hassle-free setup experience. So, let's dive right in! Step 1: Gathering the Essentials Before you begin, make sure you have all the necessary items at hand. You will need your Canon printer, a power cable, a USB cable (if your printer model requires it), and the installation CD or access to the internet. Having these items ready will save you time during the setup process. Step 2: Visiting IJ.Start.Cannon To begin the setup process, open your preferred web browser and enter the URLThis is the official Canon website dedicated to helping users set up their Canon printers. Once the website loads, you will be presented with a clean and user-friendly interface. Step 3: Selecting Your Printer Model On the IJ.Start.Cannon website, you will find a search bar or a drop-down menu where you can enter or select your Canon printer model. Ensure the model number is correct to avoid any compatibility issues. Once you have entered or selected your printer model, click on the "Go" or "Search" button. Step 4: Downloading the Drivers and Software After selecting your printer model, you will be directed to a page where you can download the necessary drivers and software for your specific Canon printer. These drivers and software are essential for your printer to communicate with your computer or mobile device. Click on the "Download" button to initiate the download process. Step 5: Installing the Drivers and Software Once the drivers and software have finished downloading, locate the downloaded file on your computer or mobile device and double-click to begin the installation process. Follow the on-screen instructions provided by the Canon installation wizard. Ensure that you read each step carefully and select the appropriate options when prompted. Step 6: Connecting Your Printer Now that the drivers and software are installed, it's time to connect your Canon printer to your computer or mobile device. If your printer requires a USB connection, connect one end of the USB cable to your printer and the other end to an available USB port on your computer or laptop. For wireless printers, follow the instructions provided by the installation wizard to establish the connection. Step 7: Test Print Congratulations! Your Canon printer is now set up and ready to use. To ensure everything is working correctly, perform a test print. Open any document or image file, click on "Print," and select your Canon printer from the list of available printers. Adjust any necessary print settings and click on the "Print" button. If your printer successfully prints the document or image, your setup process is complete. Conclusion: Setting up your Canon printer doesn't have to be a daunting task. By following this step-by-step guide and using the official https://ij.start.canon can easily set up your printer and start printing in no time. Remember to keep all the necessary items handy, download and install the drivers and software, and connect your printer correctly. With your Canon printer up and running, you can now enjoy high-quality prints for all your home or office needs. Happy printing!


Popular Posts
-
 High Class Call Girls Services in Faridabad | Faridabad Call Girls | Call Girls in Faridabad
By Tina Kapoor
High Class Call Girls Services in Faridabad | Faridabad Call Girls | Call Girls in Faridabad
By Tina Kapoor -
 pafijawatimur
-
 Cryptocurrency yang Membawa Sentuhan Kemanusiaan ke Dunia Digital
-
 gestunbet gestunbet gestunbet gestunbet gestunbet gestunbet gestunbet gestunbet gestunbet gestunbet
By lpo888b
gestunbet gestunbet gestunbet gestunbet gestunbet gestunbet gestunbet gestunbet gestunbet gestunbet
By lpo888b -
 Backlink Profil Strategi Penting bagi Situs Judi Online


