Setting up a new printer can be a daunting task for many, but with the expert guidance from ExcelTechGuru, the process becomes a breeze. The HP DeskJet 2652, a versatile and reliable printer, is no exception. In this blog, we'll walk you through the seamless setup process, ensuring that you can unleash the full potential of your HP DeskJet 2652 Setup effortlessly.
Step 1: Unboxing and Inspection
Begin by carefully unboxing your HP DeskJet 2652. Ensure that all components, including the power cord, ink cartridges, and installation CD (if included), are present and undamaged. Remove any packing materials from the printer.
Step 2: Connecting the Power
Locate the power input on the back of the printer and connect one end of the power cord to it. Plug the other end into a power outlet. Power on the printer by pressing the power button, usually located on the printer's control panel.
Step 3: Loading Paper
Adjust the paper width guides in the input tray to accommodate the paper size you'll be using. Load a stack of plain, white paper into the input tray. Slide the paper width guides until they lightly rest against the edges of the paper.
Step 4: Installing Ink Cartridges
Open the ink cartridge access door. Wait for the carriage to move into the access area. Unpack the provided ink cartridges and remove the plastic tapes. Insert the cartridges into their corresponding slots, ensuring they click into place. Close the ink cartridge access door.
Step 5: Software Installation
For optimal performance, it's recommended to install the HP printer software on your computer. You can do this using the installation CD provided or by downloading the latest software from the official HP website. Follow the on-screen instructions to complete the installation.
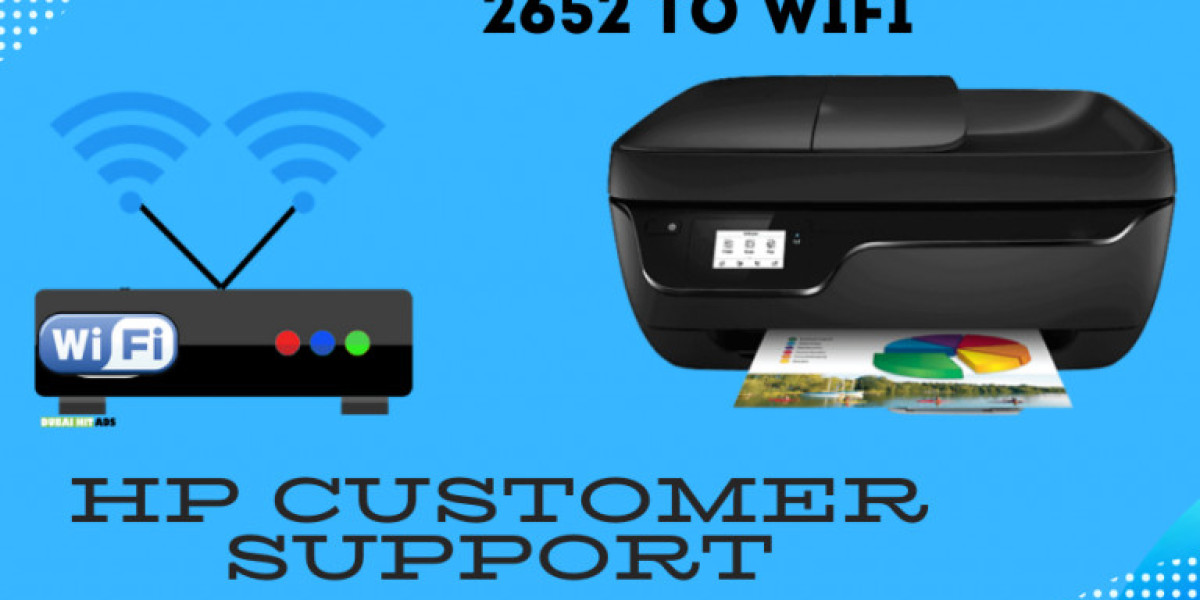
Step 6: Connecting to Wi-Fi
The HP DeskJet 2652 supports wireless printing. On the printer's control panel, navigate to the wireless settings and follow the prompts to connect the printer to your Wi-Fi network. Ensure that your computer is also connected to the same network.
Step 7: Test Print
To ensure that your HP DeskJet 2652 is set up correctly, print a test page. This can typically be done using the printer's control panel or through the HP software on your computer. Verify that the print quality is satisfactory.
Troubleshooting Tips:
If you encounter any issues during the setup process, refer to the user manual provided with the printer for troubleshooting guidance. Additionally, you can visit the ExcelTechGuru website for helpful articles and resources related to HP printers.
Conclusion:
With ExcelTechGuru's comprehensive guide, setting up your HP DeskJet 2652 becomes a straightforward and stress-free task. The printer's user-friendly design combined with expert assistance ensures that you can quickly start enjoying its impressive features. For ongoing support and additional tips, visit ExcelTechGuru's website, where a wealth of information awaits to enhance your printing experience.