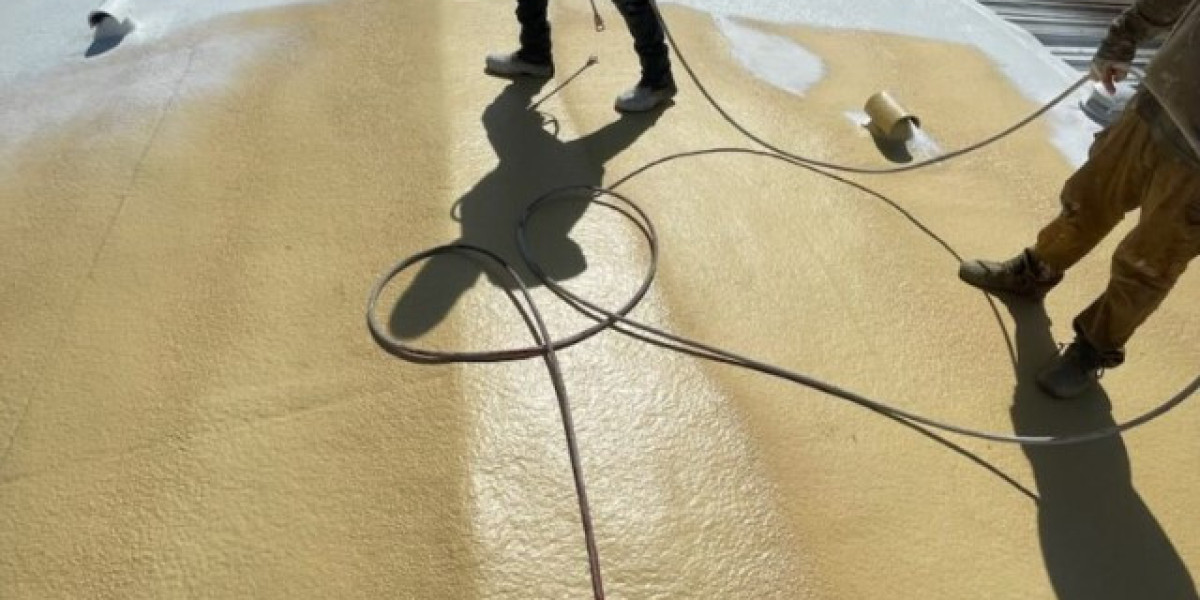
A well-maintained tile roof can significantly enhance the curb appeal and durability of your home. However, over time, tiles can crack, slip, or become damaged due to weather conditions, age, or other factors. The good news is that with the right tools and techniques, you can tackle tile roof repair yourself and transform your roof in just a weekend.
Understanding Tile Roofs
What Is a Tile Roof?
A tile roof is constructed using tiles made from materials such as clay, concrete, or slate. These tiles are designed to be durable and offer excellent protection against the elements. They are known for their long lifespan and aesthetic appeal, making them a popular choice for homeowners.
Common Issues with Tile Roofs
Tile roofs can face several issues, including:
Cracked Tiles: Often caused by severe weather or physical impact.
Slipped Tiles: Tiles that have moved out of their original position.
Broken Tiles: Tiles that are shattered and need replacement.
Leaks: Caused by damaged tiles or faulty flashing.
Preparing for Tile Roof Repair
Tools and Materials Needed
Before starting your repair project, gather the following tools and materials:
Replacement tiles
Roof adhesive or mortar
A pry bar
A ladder
Safety gear (gloves, safety glasses, etc.)
A utility knife
Safety Precautions
Roof repairs can be dangerous. Always take the following precautions:
Ensure your ladder is stable and positioned correctly.
Wear appropriate safety gear.
Work with a partner if possible, to ensure safety and assistance.
Step-by-Step Tile Roof Repair
Step 1: Inspect and Assess
Start by thoroughly inspecting your roof to identify all damaged or missing tiles. Look for signs of leaks or structural damage. Make a list of the areas that need repair.
Step 2: Remove Damaged Tiles
Carefully use a pry bar to lift and remove the damaged tiles. Be gentle to avoid damaging adjacent tiles. If you're replacing a cracked tile, you may need to break it into smaller pieces to remove it.
Step 3: Prepare the Area
Clean the area where the damaged tile was removed. Remove any old mortar or debris. Ensure that the underlayment is intact and free of damage.
Step 4: Install New Tiles
Place the new tile in the position of the old one. Apply roof adhesive or mortar to secure the tile. Press down firmly and ensure it is level with the surrounding tiles.
Step 5: Seal and Finish
Once the new tiles are in place, check for any gaps or imperfections. Apply additional mortar if necessary. Allow the repair to set and cure as per the adhesive manufacturer’s instructions.
Conclusion
Repairing your tile roof doesn't have to be a daunting task. By following this ultimate guide, you can transform your roof in just a weekend, ensuring it remains strong and attractive. Regular maintenance and timely repairs will help extend the life of your tile roof and protect your home from potential damage.


